Understanding the Mole Removal Process: What to Expect Before, During, and After
Introduction to Mole Removal
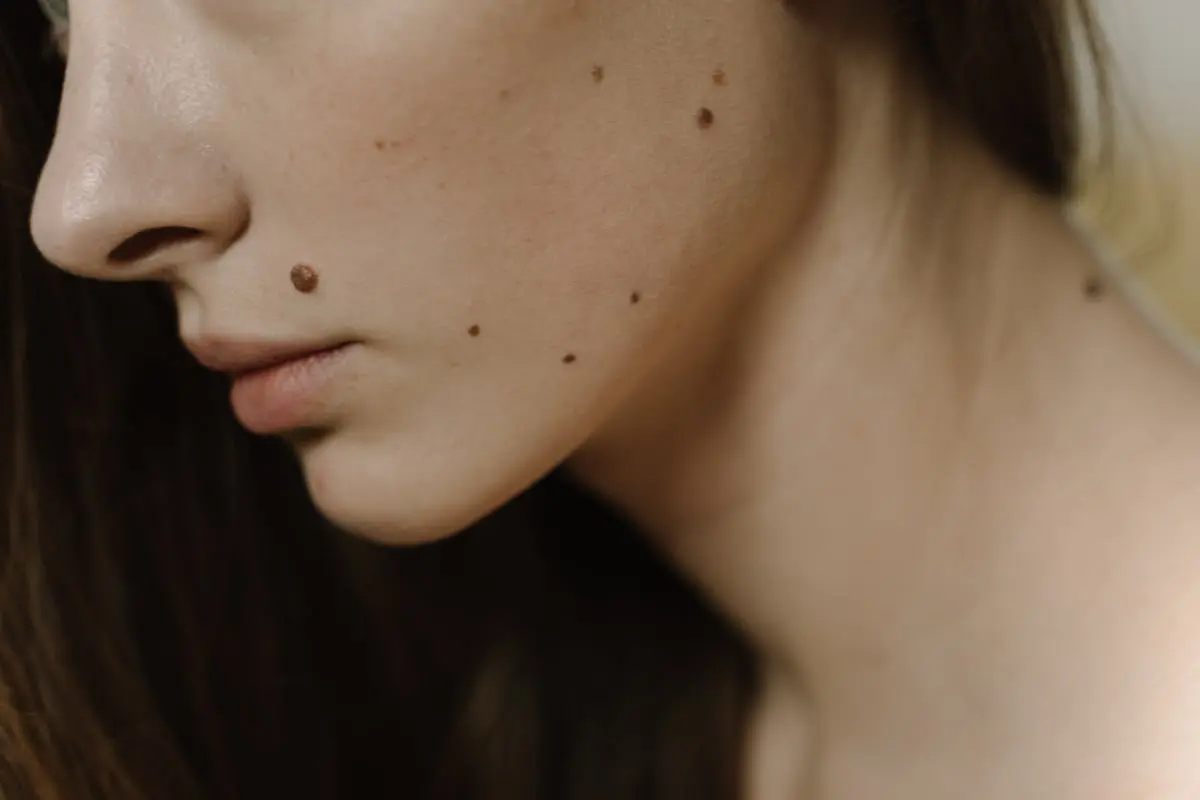
Mole removal might sound a bit daunting, but it’s a pretty straightforward procedure. Let’s break it down. A mole, known to the science folks as a nevus, is simply a collection of skin cells that have grown in a cluster instead of spreading out. While most moles are harmless, some might need removal for cosmetic reasons or because there’s a chance they could turn into skin cancer. Whether it’s to boost your confidence or for health concerns, getting a mole checked out and possibly removed is a smart move. The process involves a doctor examining the mole, deciding the best way to remove it, and then taking action. This might mean cutting it out, burning it away, or even freezing it. Sounds intense, but it’s all pretty routine for skin specialists. So, if you’ve got a mole that’s bothering you, getting it looked at could be the first step towards a solution.
Reasons for Mole Removal: Medical and Cosmetic
Some folks get their moles removed because they’re worried they might be or could become cancerous. This is a big reason for medical removal. If a mole changes shape, size, or color, or starts itching or bleeding, a doctor might want to take it off to check it out and make sure everything’s okay. On the flip side, plenty of people get moles removed for cosmetic reasons. Maybe they don’t like where the mole is or how it looks. It’s all about feeling good about how you appear. Whether for health scares or just not liking the look, the decision to remove a mole is a personal one.
Preparing for Your Mole Removal Appointment
Before your mole removal appointment, it’s key to get ready. First off, expect a chat with your doctor. They’ll need to know your medical history and any meds you’re on. This is crucial for a safe procedure. Then, here’s a simple guide to prep:
- Avoid the sun. Getting sunburned right before can mess things up. Keep your mole out of direct sunlight.
- Skip certain meds. Some, like aspirin or ibuprofen, can increase bleeding. Your doctor will tell you which ones to avoid.
- Plan your day. You won’t need bed rest, but you might want to take it easy. Arrange a ride home if you think you’ll need it.
Ask questions. If anything’s unclear about the mole removal, now’s the time to ask. This keeps surprises to a minimum. So, before you go, ensure you understand what’s happening. It makes the whole thing smoother.
Types of Mole Removal Procedures
When it comes to getting rid of moles, not all procedures are the same. There are three main ways doctors can remove moles. Let’s break them down. First, there’s surgical excision. This is where the doctor cuts out the mole along with a small area of the surrounding skin. It’s a common method, especially if there’s a worry the mole might be cancerous. You’ll get stitches afterwards, which means there’s a bit of healing time. Then, there’s surgical shave. This one doesn’t sound as intense, right? The doctor uses a small blade to shave off the mole. It’s usually for moles that aren’t deep in the skin. No stitches needed here, which is a plus. Lastly, we’ve got laser removal. This is where technology comes in. The doctor uses a powerful light like completely remove the mole to break down the mole. It’s great for moles that aren’t too deep. But, it might take a few sessions to get rid of the mole completely. Each method has its pros and cons, and the best choice depends on your mole’s characteristics. Your doctor can guide you on which method suits your needs the best. Remember, it’s always about what works for you and ensures your health and safety.
What to Expect During the Mole Removal Process
During the mole removal process, your doctor will first clean the area around the mole. This step is crucial to prevent any infection. They’ll likely use a local anesthetic to numb the area so you won’t feel pain during the removal. There are a few methods your doctor might choose for removing the mole. They might cut it out with a scalpel, which is common for larger moles. This method might require a few stitches. Another option is using a laser to remove smaller moles. This method is quick and doesn’t usually require stitches, but it may not be suitable for moles that are deeply rooted in the skin. There’s also a technique that involves burning off the mole or freezing it with liquid nitrogen. Each of these methods aims to remove the mole with minimal discomfort and scarring. The whole process usually doesn’t take long, often just a few minutes, depending on the size and type of the mole. After the removal, your doctor will give you care instructions to help the healing process and reduce the risk of infection. It’s essential to follow these instructions closely.
Pain Management and Anesthesia Options
When it comes to mole removal, feeling a bit anxious about potential pain is natural. Let’s break down the pain management and anesthesia options to put those worries to rest. First off, the type of anesthesia used mainly depends on the size of the mole and the method of removal. For smaller moles, a local anesthetic is usually enough. This means you’ll be awake, but the area around the mole will be numb, so you shouldn’t feel any pain during the procedure. For larger moles or those in sensitive areas, your doctor might suggest a stronger anesthetic or even sedation to keep you comfortable.
Remember, the goal is to make the process pain-free. After the removal, you might experience some discomfort or soreness, but this is typically manageable with over-the-counter pain relievers. Your doctor will give you specific instructions on how to care for the area and manage any discomfort. Plus, they’re always just a call away if you have concerns as you heal. So, while the thought of pain might be nerve-wracking, know that there are effective ways to manage it, ensuring the mole removal process is as comfortable as possible for you.
Post-Procedure: Immediate Aftercare
After you get a mole removed, taking care of the site is key to healing and keeping infection at bay. You’ll likely leave with a small bandage over the spot, and your doctor will give you specific instructions on how to care for it. Typically, this includes keeping the area clean and dry for the first 24 hours. After that, you might need to apply an antibiotic cream or ointment and a clean bandage to prevent infection and promote healing. It’s normal to see a bit of redness or feel soreness, but intense pain or signs of infection like oozing should prompt a call to your doctor. Also, avoid sun exposure to the area; it can hinder the healing process and lead to scarring. Keep in mind, the care routine can vary based on the mole removal method used—surgical excision, laser, or freezing—so always follow your doctor’s advice to the letter.
Long-Term Care and Scar Prevention
After your mole removal, keeping the area clean and minimizing scarring should be your top priorities. First off, follow your doctor’s advice to the letter. They know what’s best for your situation. Now, onto keeping that skin in top-notch condition. Moisturize the area. Once it’s safe—usually a day or so after the bandage comes off—start applying a gentle, unscented moisturizer. This helps the skin heal. Next, think sun protection. Sunlight can make scars stick out like a sore thumb. Before stepping outside, slather on a high SPF sunscreen on the scar, and do this for at least a year post-removal.
Here’s a kicker: silicone gel sheets. These are not as widely known, but they’re gold for scar care. Stick them on the scar for several hours a day, follow the package instructions, and you might see that scar fade faster than you’d expect.
And patience, don’t forget that. Scars take their sweet time to heal. Even with top-notch care, expect to wait a year, sometimes more, for scars to settle down and fade. But with consistent care, you’ll likely see that scar become less and less noticeable. Remember, it’s a marathon, not a sprint. Take it step by step, and your skin will thank you.
Potential Risks and Complications
Mole removal, while relatively safe, is not without potential risks and complications. It’s key to remember that, like with any surgical procedure, there’s a chance things might not go perfectly. Infection is a straightforward risk. Whenever the skin is cut, there’s a doorway for bacteria to enter and cause trouble. Take care of the wound as instructed to reduce this risk. Scarring is another consideration. Everyone heals differently, and sometimes, even with the best care, a scar may be more noticeable than the mole was. Also, there’s a slight chance the mole could grow back, especially if it was removed for cosmetic reasons and not completely excised. Rarely, an allergic reaction to the anesthetic used during the procedure can happen. It’s essential to discuss your medical history with your doctor beforehand to mitigate such risks. Keep these in mind, have an open chat with your doctor about concerns, and follow care instructions closely post-procedure.
Conclusion: Embracing the Results and Follow-Up Care
Ending the journey of mole removal turns out different for everyone. Some folks see it as a breeze, while for others, it’s a bit of a trek. Key is, your skin needs time to heal and bounce back, so patience becomes your best friend. Soon as the mole checks out, follow-up care steps in – and it’s nothing too fancy, just simple steps to ensure everything heals nicely.
First off, keep the area clean and dry. Your doc will guide you on how to do this without turning it into a mission. They might even suggest using an antibiotic ointment to ward off any unwanted guests like infections. Secondly, a bandage might be part of your new look for a bit. It’s there to protect the area, so let it serve its purpose.
Change the bandage as told. This isn’t a one-and-done deal; it’s a regular gig until the site says, “I’m good”. Pain’s part of the package for some, but don’t let it freak you out. Over-the-counter painkillers usually do the trick, but if stuff gets real, your doc is just a call away.
Scarring is a possibility – let’s not beat around the bush. But, it’s usually nothing to lose sleep over. The mark fades away over time, blending in. Plus, if it really bugs you, there are ways to make it less noticeable.
Lastly, keep a close eye on the area long after it’s healed. Any changes, and it’s time to holler at your doctor. Embracing the results comes easy when you’ve played your part in the healing process. So, give it the attention it deserves, and you’ll be set.
Ready to achieve healthier skin? Book a free consultation with Dr. Laura Cho at Bellatudo Skin and Wellness Center today!

